Finishing the Chiesa Santa Maria del Villaggio al Fiume
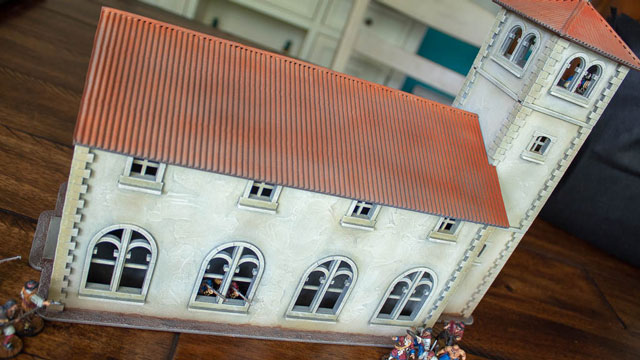
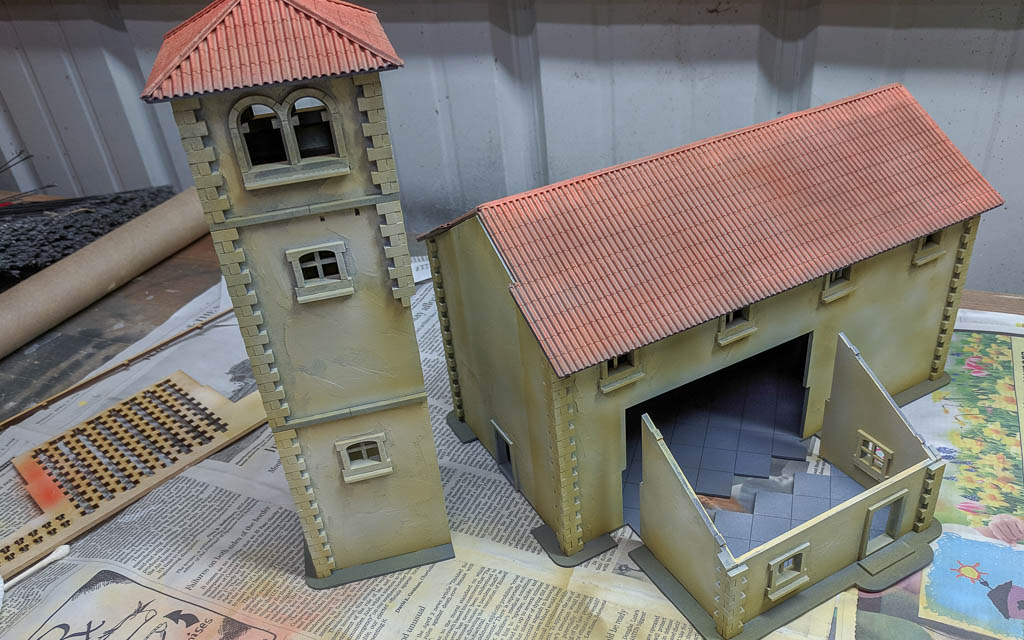
Those who have visited the site may know that I have been on the look out for some quality Blood & Plunder terrain for a long time. While there are a lot of Spanish/Caribbean-styled buildings out there, I was happy to hear about a quality HDF set of buildings in the form of a Kickstarter, that includes a church (today's project), buildings, fences, walls, and a fountain. The church from the Kickstarter, the Chiesa Santa Maria del Villaggio al Fiume, was on sale early at the designer's website, Things from the Basement, and I was the happy recipient of one for Christmas.
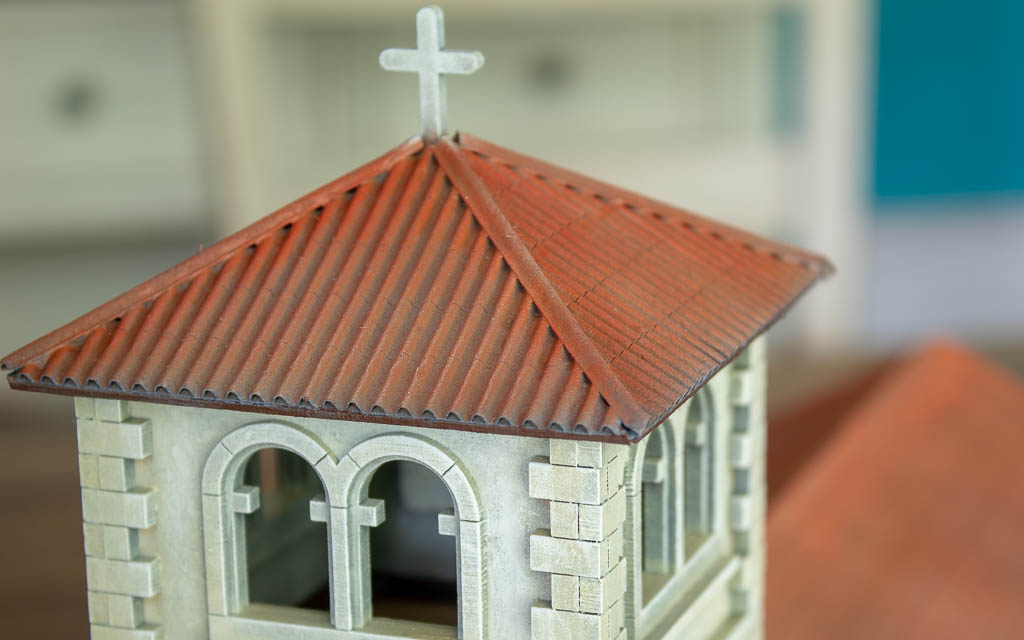
The building is quite detailed for an HDF kit, where as, other MDF/HDF kits on the market always seem very flat-looking, particularly the roofs. More importantly, knowing there would be more buildings in the set that would accompany the church, it made sense to take a look at this church first. From an aesthetics point of view, I prefer not to mix HDF buildings with resin as I find the two types very different in style. While the resin kits generally have a lot of details molded in and can look awesome, they are also usually thickly walled and the resin kits I have purchased have had lots of air bubbles in them.

For tabletop gaming, I am happy with the resin kits and I still intend to build, paint and use the ones I have. However, now that there’s a full set of HDF buildings, I plan to spend the extra time to paint and detail them. Although they won’t be the same as perfectly molded resin, they will all fit together stylistically.
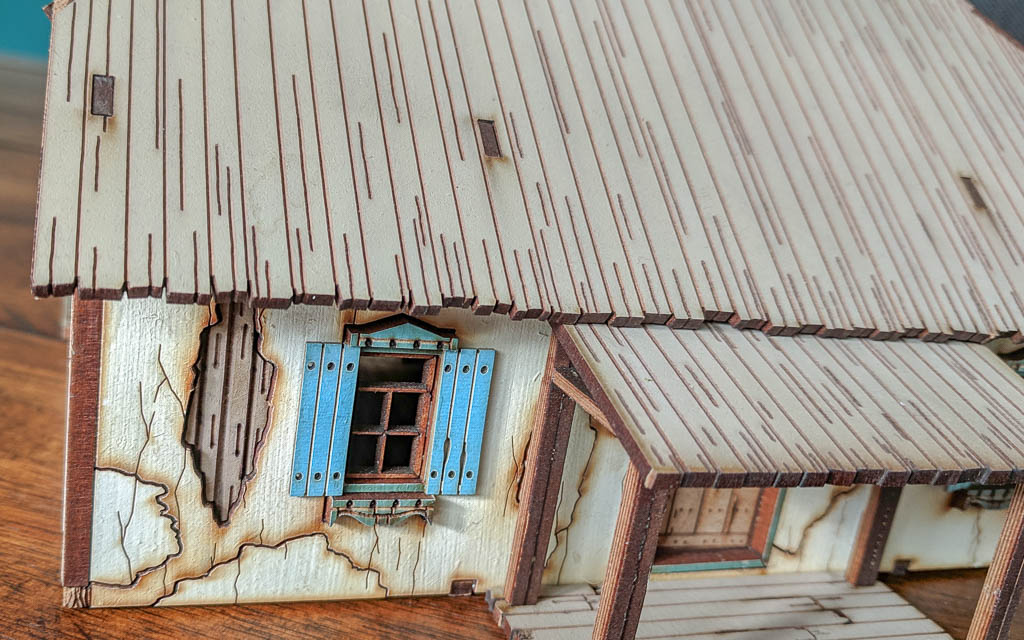
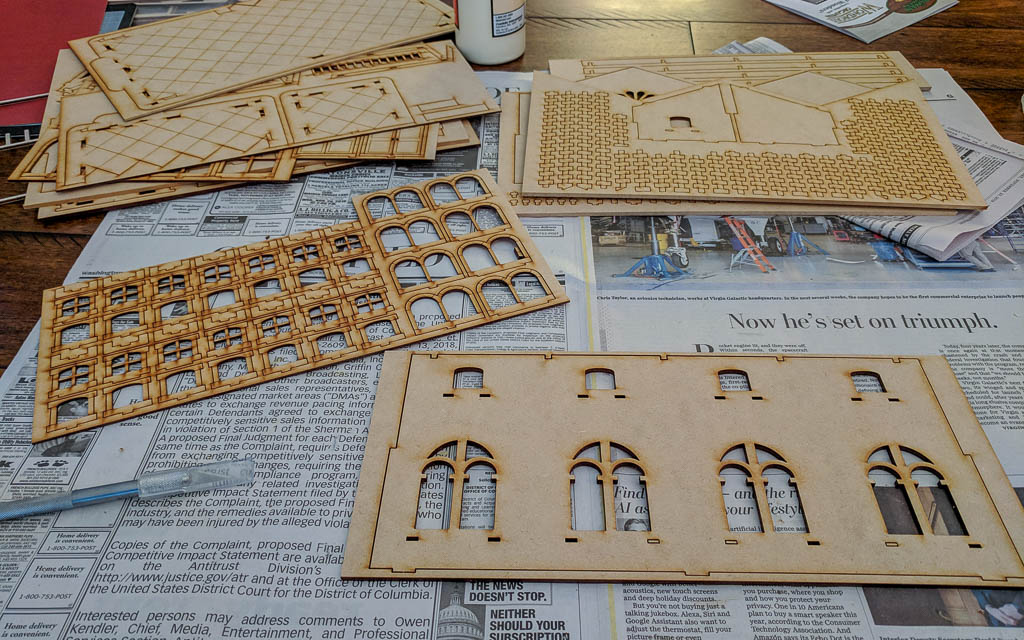
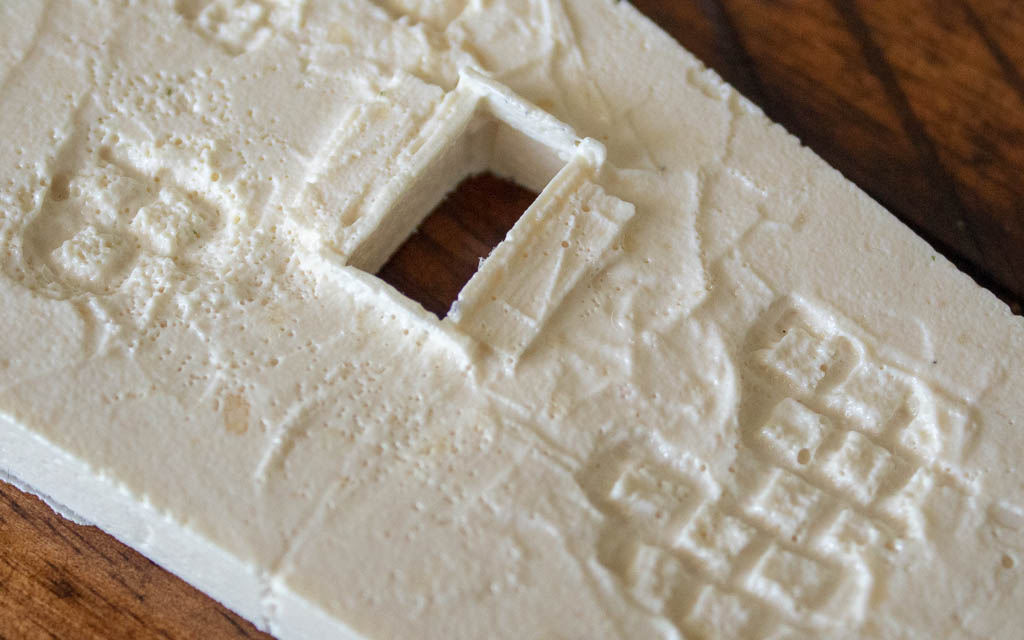
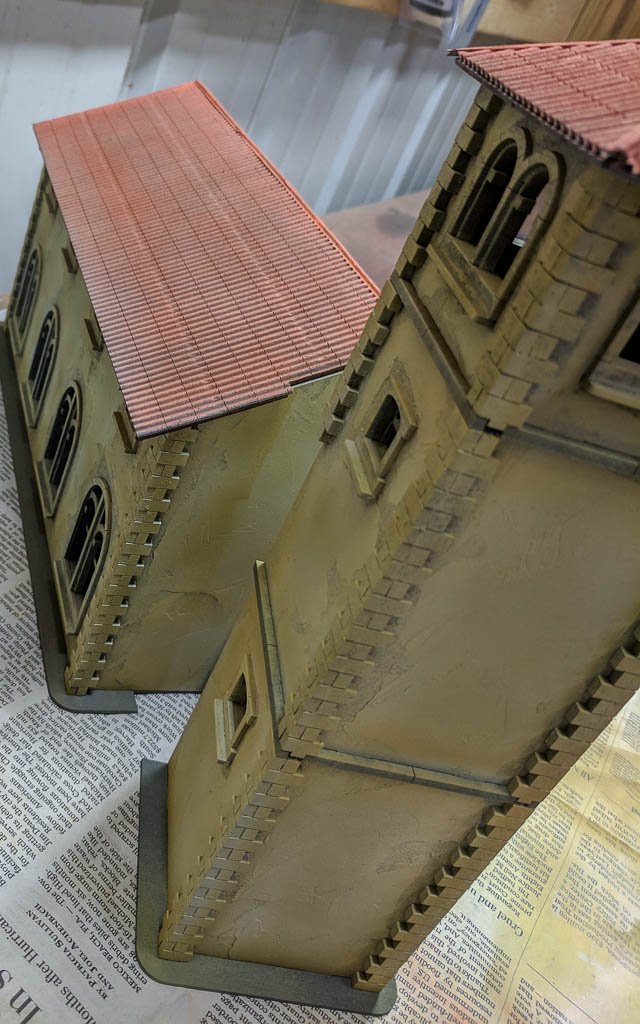
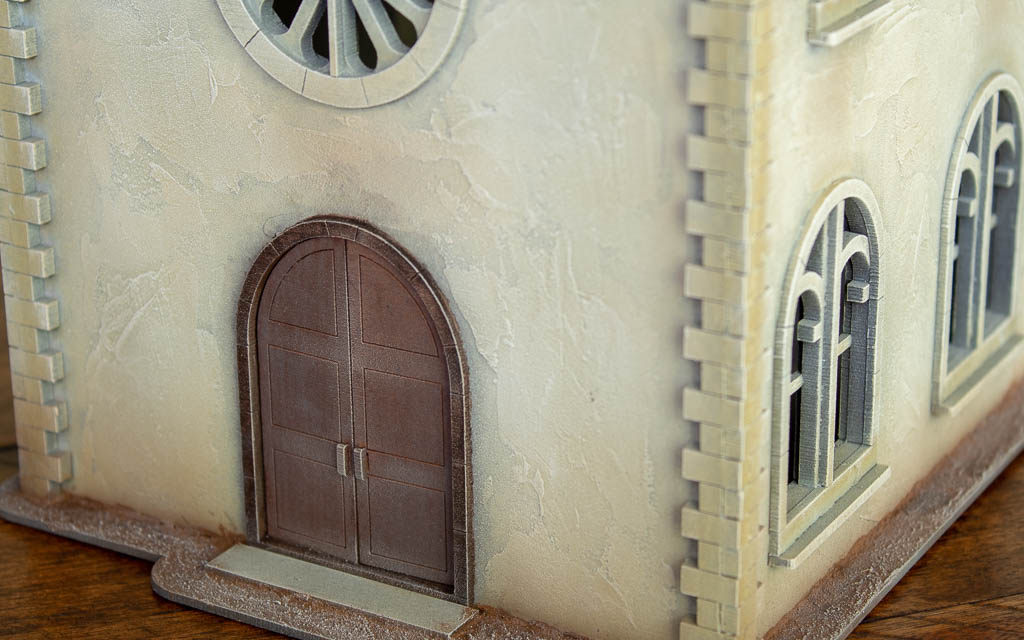
After receiving the church for Christmas, I hurried to put it together and assumed it would be easy enough to detail and paint the model afterwards. A beginner's mistake! Texturing the walls would have been much easier if there had not been windows and door frames in the way. In the future, I will texture the exterior prior to construction.
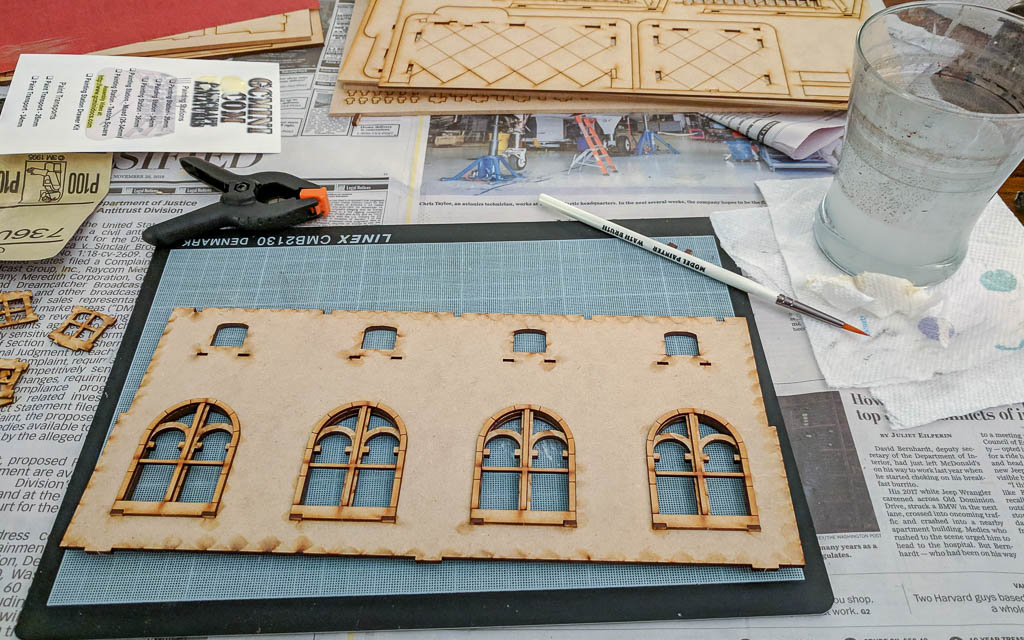
Step by Step
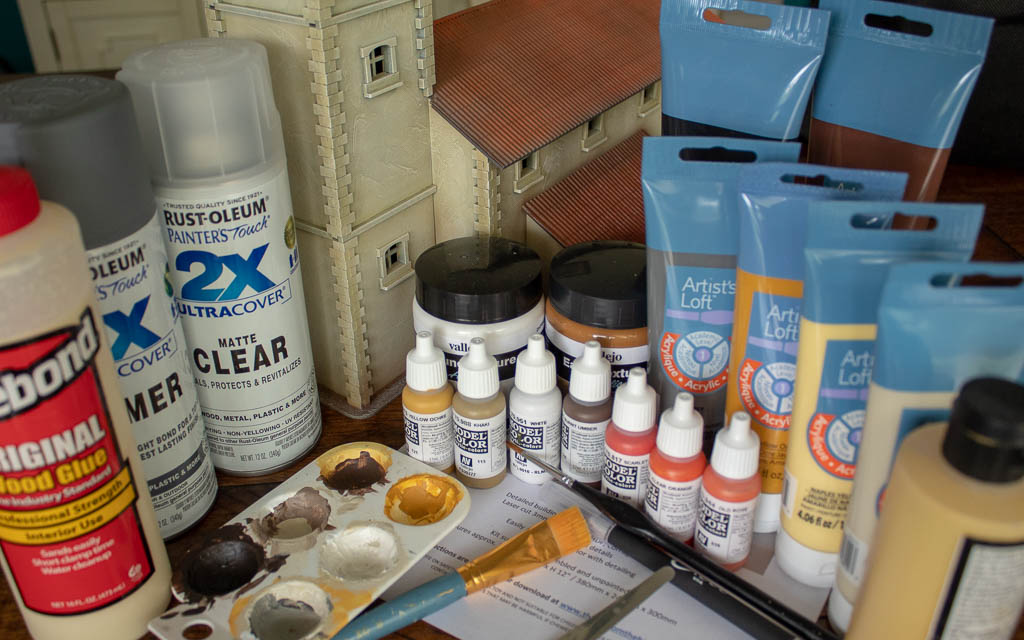
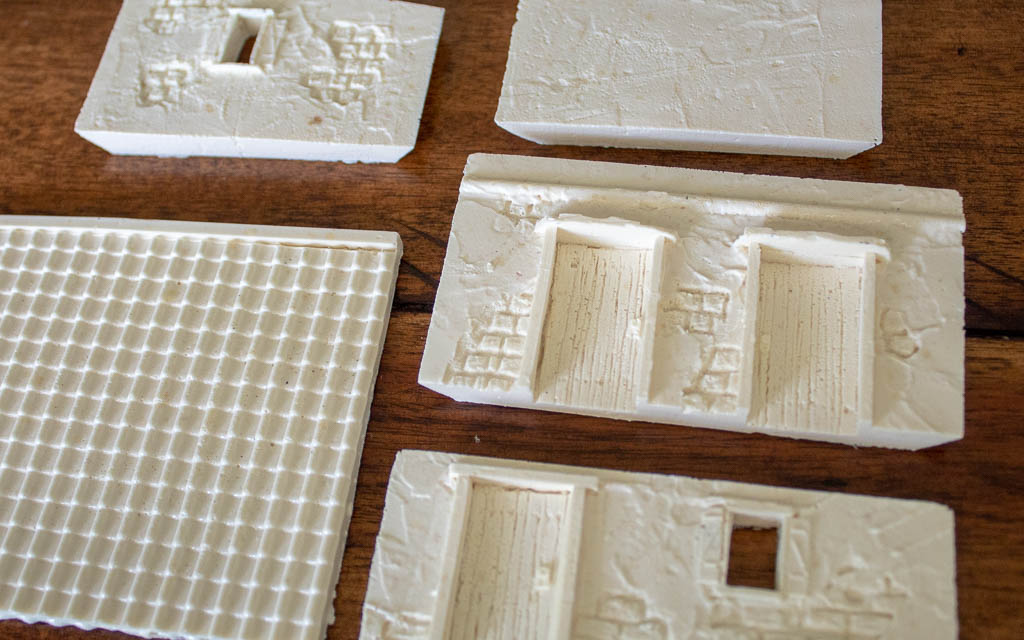
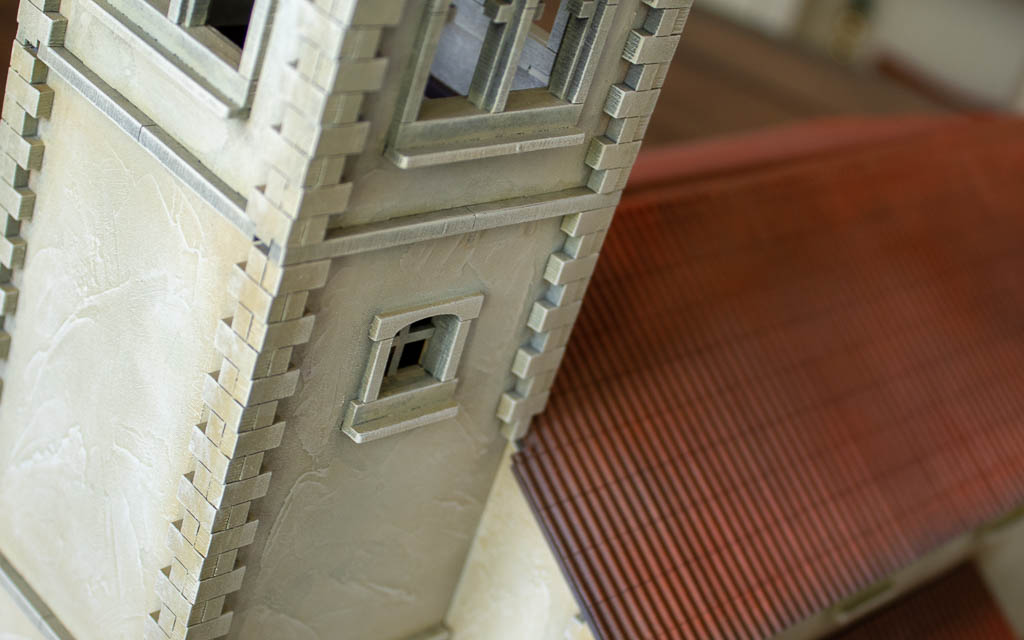
I applied a very light stucco texture (because you know, I had already assembled it in my post-holiday excitement) to the outer walls with Vallejo White Stone Texture. I used the Vallejo texture product instead of spackle, for two reasons: (1) I had it and (2) I thought it would give a more subtle effect, requiring less sanding. There is an excellent tutorial for using spackle to texture walls available at https://www.thingsfromthebasement.com/tutorials.html.
I then primed the entire model with a gray Rustoleum primer.
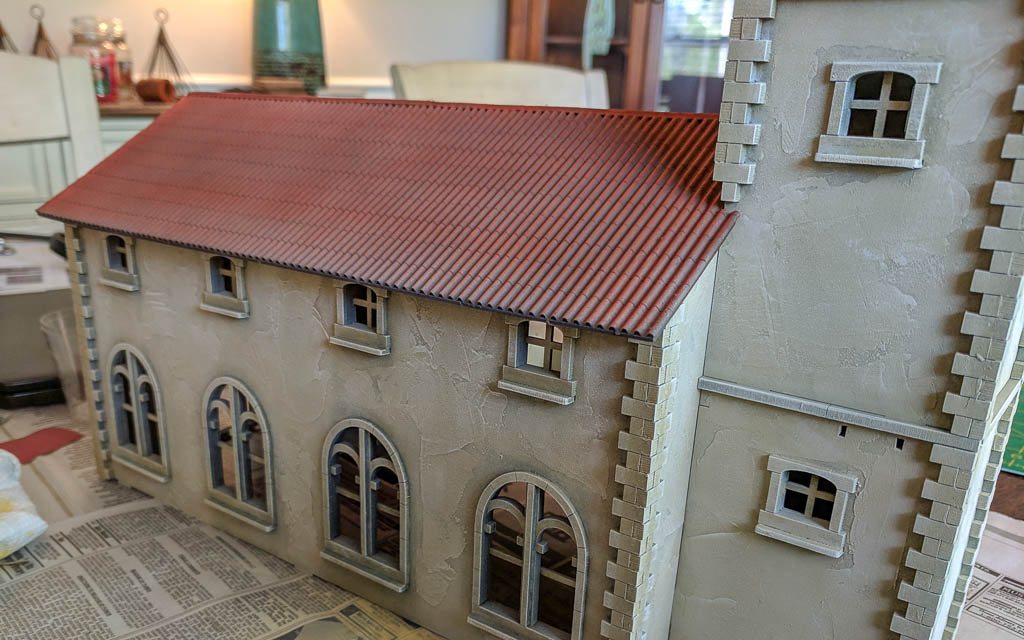
The base coat was still a little dark for my taste, so I took out my rarely used Vallejo White (70.951) - I never really take highlights whiter than ivory - and applied it to the exterior of the model. In the end, the mix of the gray primer, the while texture paste, and the spotty airbrushing gave a nice varied look.
In order to develop textures and lighten up the fairly dark base, I dry brushed - first with Naples Yellow and then I mixed in Unbleached Titanium. Next, I applied pure Unbleached Titanium, and finally, blended Unbleached and Titanium White for the topmost layer.

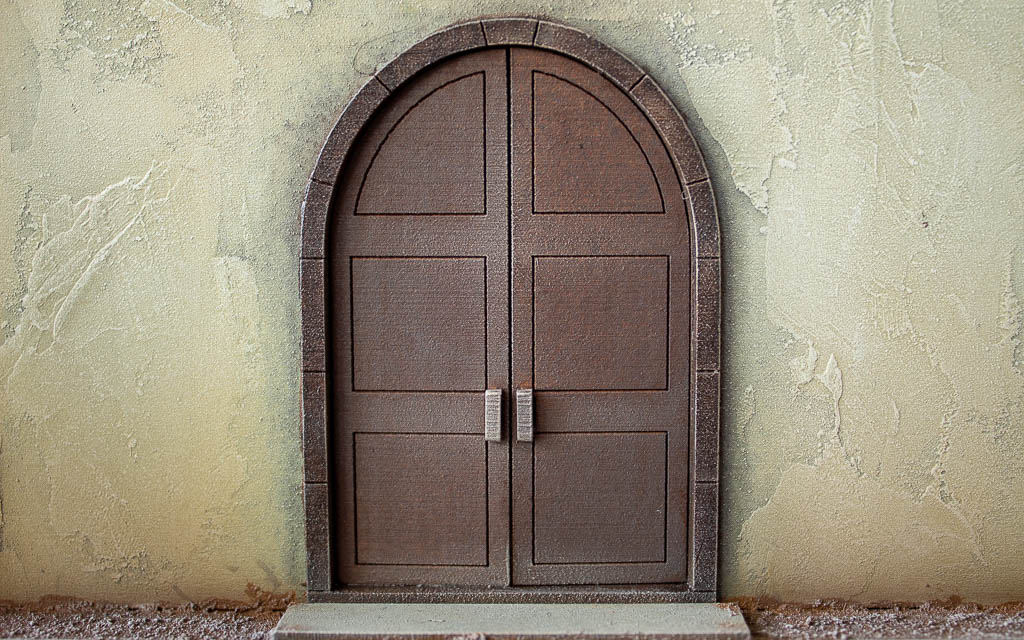
On this model, details were limited to wooden doors and floors. These were painted with Burnt Umber and dry brushed by adding Naples Yellow and Unbleached Titanium.

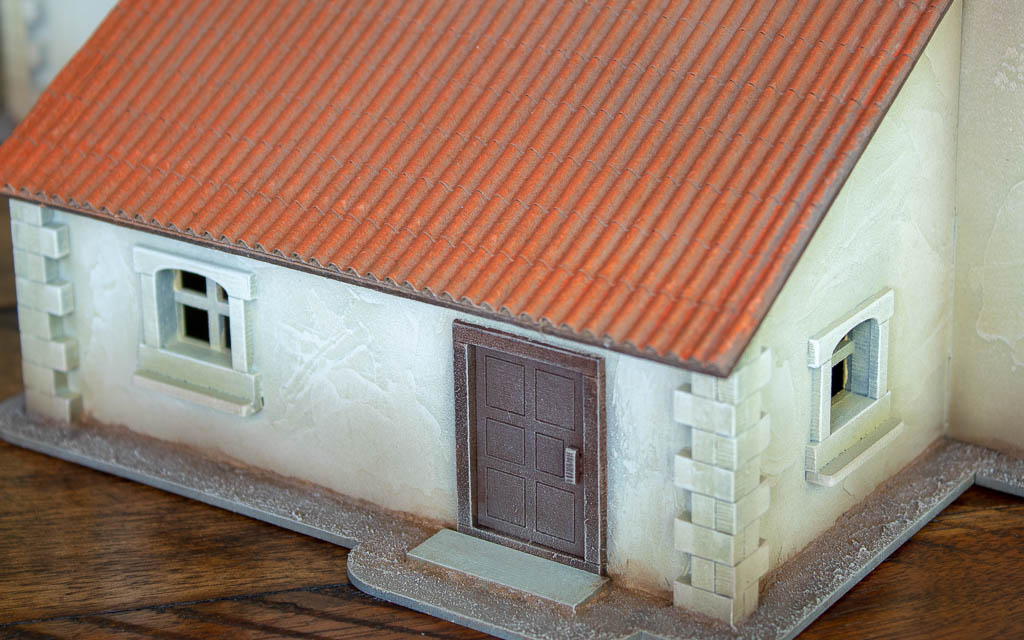
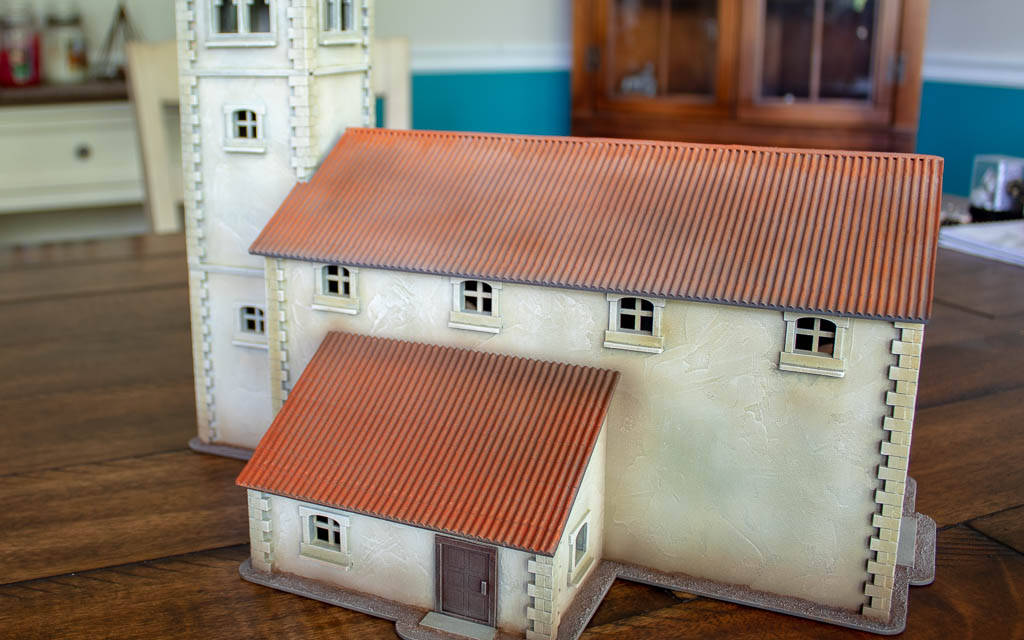
I air brushed the roof with Vallejo Scarlet (70.817), and then mixed in Clear Orange (70.956) and Old Rose (70.944).
I textured the base with Vallejo Brown Earth texture and used the air brush to shade the ground, bottom of the walls, and corners with Burnt Umber (70.941). I used Unbleached Titanium to dry brush highlights on the earth texture and give it a grayer look.
Lastly, I coated the entire model with a few coats of Rustoleum Matte Clear.
Final Thoughts
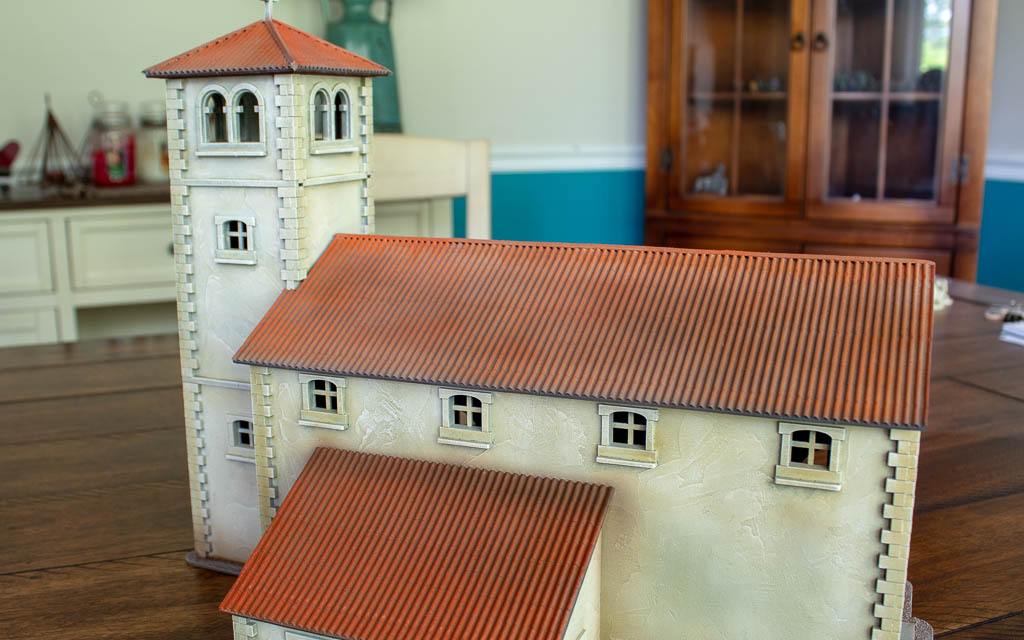
As I write this, the remaining buildings from the Kickstarter are out for delivery. This project was underway for 5 months, and I realized too late that (once again, in my excitement to build this kit), that I forgot to document the process. In the end, I am really pleased with the stucco look and the dirty yellow color, although my wife would have liked the church to be whiter in color - I have managed to avoid her bright color preferences once again!
Until next time, adventure on! ![]()
Tags: Blood & Plunder Bolt Action Terrain Mediterranean Caribbean MDF


